How to Create UI in Roblox Studio: A Complete 2026 Tutorial
A great Roblox game lives or dies by its UI. Buttons that don't scale, health bars that overlap on mobile, shop screens that lag — these are the silent killers of retention. This guide walks you through building clean, scalable Roblox Studio UI in 2026, from the first ScreenGui to a full multi-device HUD.
Roblox UI basics: ScreenGui, Frame, and the GUI tree
Every piece of Roblox UI starts with a ScreenGui placed inside StarterGui. When a player joins, the contents are copied into their PlayerGui automatically.
The hierarchy you'll use 90% of the time:
ScreenGui— the canvas.Frame— invisible container for grouping.TextLabel/TextButton/ImageLabel— leaf elements.UIListLayout/UIGridLayout/UIPadding— automatic spacing.
Step 1 — Create your first ScreenGui
- Open Roblox Studio and go to the Explorer.
- Right-click
StarterGui→ Insert Object →ScreenGui. - Rename it to something meaningful, like
MainHUD. - Set
ResetOnSpawn = falseso it survives character respawns.
Step 2 — Always use Scale, not Offset
This is the #1 mistake new Roblox UI devs make. Every UDim2 has two parts: Scale (a fraction of the parent) and Offset (raw pixels). For UI that works on mobile, console, and PC, use Scale.
-- BAD: breaks on mobile
button.Size = UDim2.new(0, 200, 0, 50)

-- GOOD: scales to any screen
button.Size = UDim2.new(0.2, 0, 0.08, 0)
Add a UIAspectRatioConstraint if you need the element to stay a fixed shape across devices.
Step 3 — Use AutoLayout (UIListLayout) for everything
Manually positioning frames is a trap — one new button and you re-do the whole screen. Instead, drop a UIListLayout inside any container frame.
local layout = Instance.new("UIListLayout")
layout.FillDirection = Enum.FillDirection.Vertical
layout.Padding = UDim.new(0, 8)
layout.SortOrder = Enum.SortOrder.LayoutOrder
layout.Parent = inventoryFrame
Now every child orders itself automatically. Combine with UIPadding for inner spacing.
Step 4 — Build a real HUD (health, coins, minimap)
A standard game HUD has three zones:
- Top-left: health bar + player name.
- Top-right: coins / score + minimap.
- Bottom-center: hotbar / abilities.
Anchor each zone with AnchorPoint so it sticks to its corner even when the window resizes:
healthFrame.AnchorPoint = Vector2.new(0, 0)
healthFrame.Position = UDim2.new(0.02, 0, 0.02, 0)

coinsFrame.AnchorPoint = Vector2.new(1, 0)
coinsFrame.Position = UDim2.new(0.98, 0, 0.02, 0)

hotbarFrame.AnchorPoint = Vector2.new(0.5, 1)
hotbarFrame.Position = UDim2.new(0.5, 0, 0.98, 0)
Step 5 — Make it work on mobile (60% of Roblox players)
Over half of Roblox sessions are on phones. Test in Studio's Device Emulator at iPhone SE size (568×320 pt) — if it works there, it works everywhere.
- Buttons must be at least 44×44 pt for thumbs.
- Keep the bottom 20% of the screen clear — that's where mobile movement controls live.
- Test in landscape AND portrait if your game supports both.
Step 6 — Generate icons for buttons and abilities
Custom button icons make a HUD look professional, but commissioning them is slow. Use Meshlox Icon Studio to generate ability icons, currency icons, and shop badges in seconds. Every output is a clean 512×512 PNG with a transparent background, ready to drop into an ImageLabel.
Step 7 — Performance tips
- Set
ScreenGui.IgnoreGuiInset = truefor full-screen overlays. - Use
ImageLabeloverFramewhen you have many rounded corners — it's cheaper thanUICornerat scale. - Pool list items rather than destroying and re-creating them.
- Avoid
UIGradienton hundreds of nested frames — it tanks frame rate on low-end mobiles.
FAQ
Should I use Roblox's new UI Editor or code my UI?
Use the visual editor to lay things out, then add a script for runtime behavior. The two work together.
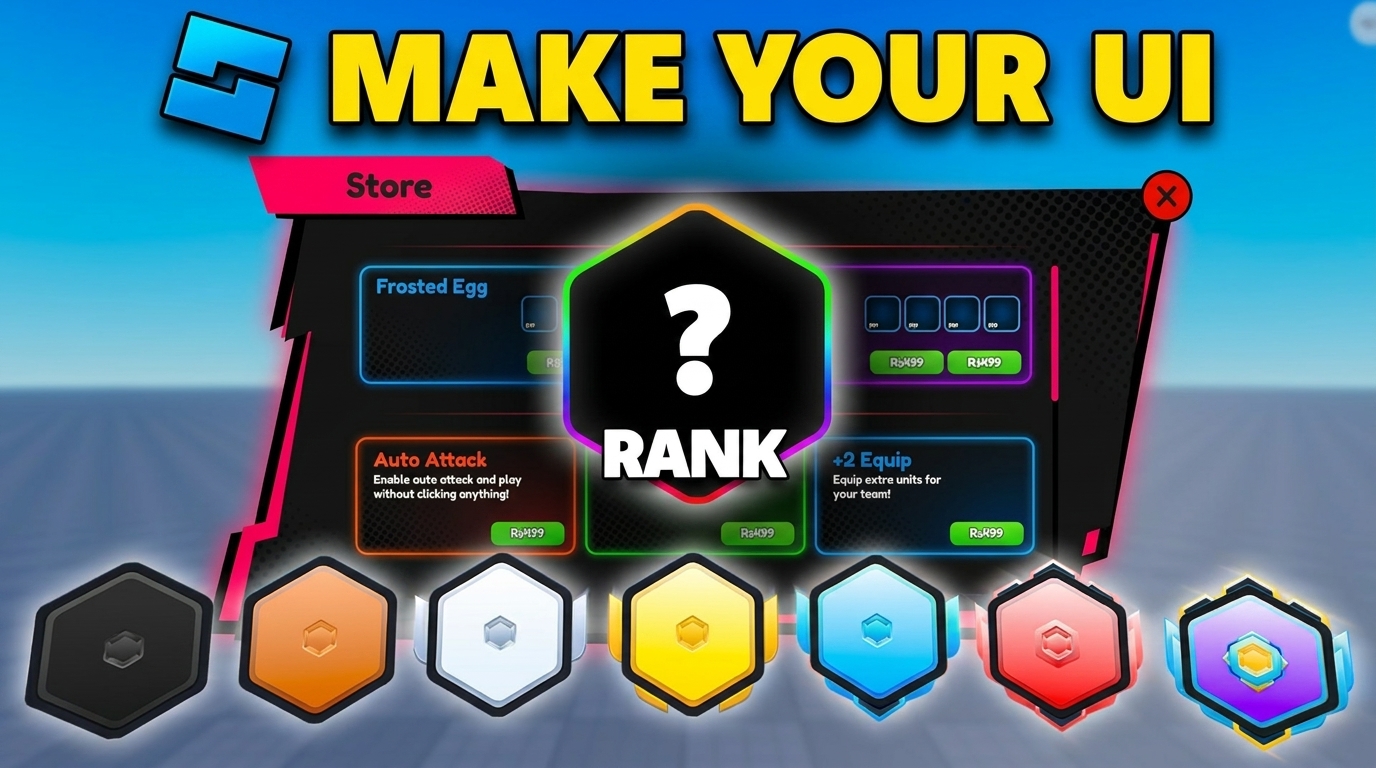
How do I make a responsive Roblox shop UI?
Use a parent ScrollingFrame with a UIGridLayout and UIAspectRatioConstraint on each cell. Items reflow automatically.
Can I import Figma designs into Roblox Studio?
Not directly, but you can export Figma frames as PNG and use them as ImageLabel backgrounds, then layer interactive elements on top.
Next steps
Now that your UI scales, fill it with custom assets. Read our guide on creating Roblox 3D models and on designing Roblox thumbnails.
Ready to generate your first model?
Open Meshlox Studio in your browser — no install, no Blender.